Ultimate Marble Cake Recipe
After years of testing different recipes and techniques, I’m thrilled to finally share what I consider the perfect marble cake recipe. This journey has been filled with countless trials, adjustments, and taste tests, but the result? Absolutely worth every minute spent in the kitchen! Whether you’re planning a birthday celebration or simply craving something special for afternoon tea, this marble cake delivers in every way possible.
Table of Contents
Tell Me About This Marble Cake
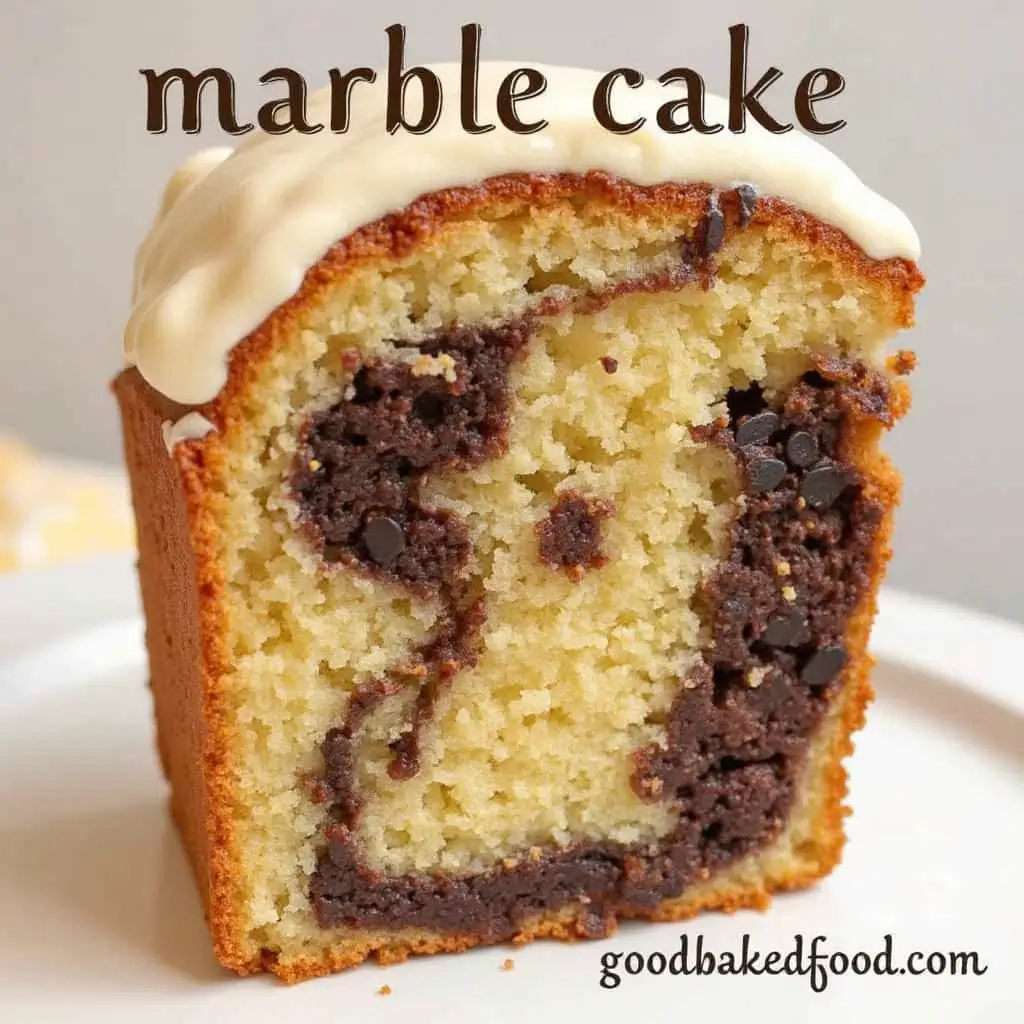
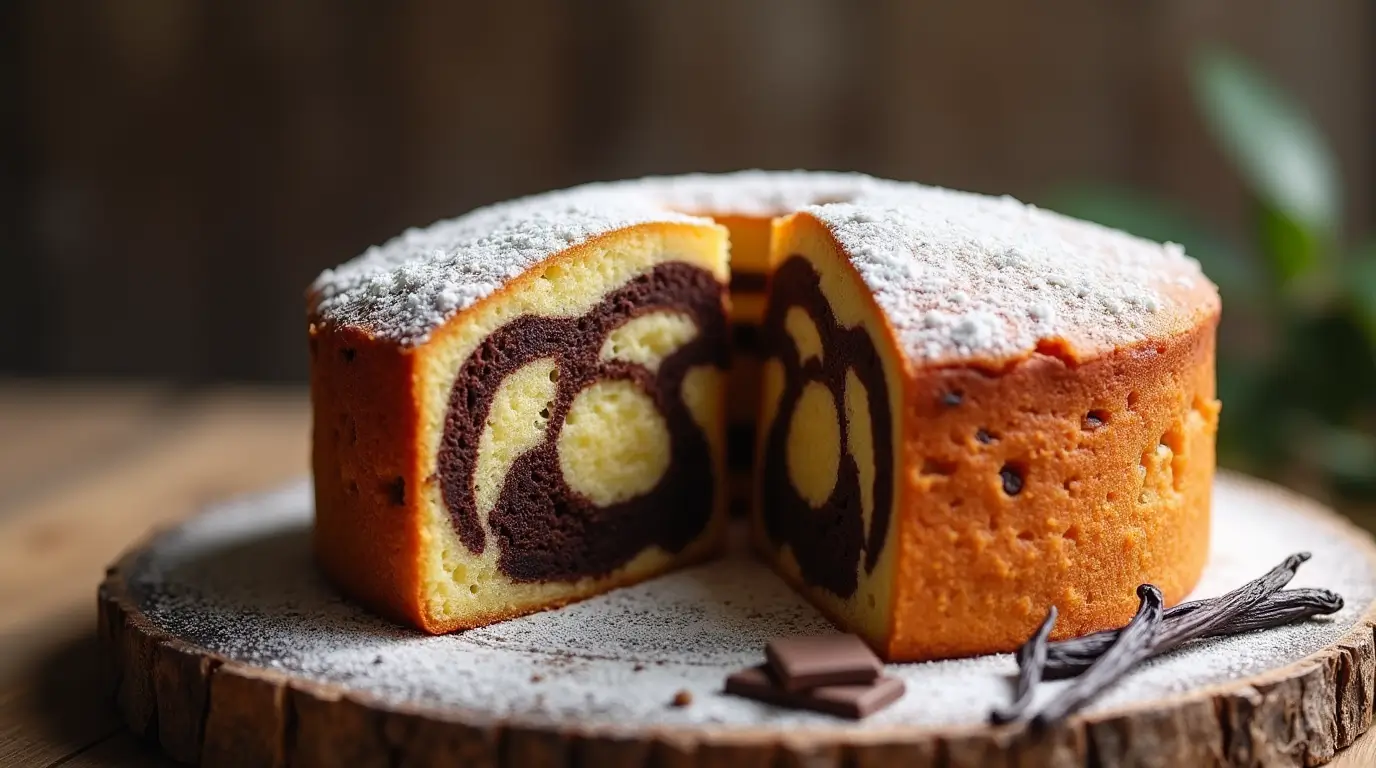
This isn’t just any marble cake. It’s exceptionally tender, wonderfully moist, and delivers that rich, buttery flavor that elevates it to classic birthday cake status. The beautiful swirls of vanilla and chocolate create not just visual appeal but a delightful flavor contrast in every bite.
What this cake is NOT: difficult to make, dry, bland, from a box, lacking in chocolate flavor, or boring. This is homemade perfection that actually tastes as good as it looks!
Let’s Walk Through the Steps
Before diving into the full recipe, let me guide you through the process so you know exactly what you’re doing in the kitchen.
The Basic Yellow Cake Batter
We start with a beautiful yellow cake batter that serves as our foundation. The secret to its exceptional texture lies in using cake flour instead of all-purpose flour. Cake flour has a lower protein content which creates a softer, more delicate crumb.
Buttermilk plays another crucial role here. It adds moisture while its slight acidity helps tenderize the gluten, resulting in that melt-in-your-mouth texture we’re after. Don’t worry if you don’t have buttermilk on hand – I’ll share an easy substitute in the recipe notes.
Creating the Chocolate Batter
Here’s where the magic happens! We take a portion of our yellow batter and transform it by adding high-quality melted chocolate. I emphasize high-quality because it makes a tremendous difference in flavor. Using real chocolate rather than cocoa powder gives the chocolate swirls a richer, more intense flavor that perfectly complements the vanilla batter.
The Marbling Technique for Marble cake recipe
The key to those beautiful swirls is in the layering and swirling technique. We’ll alternate spoonfuls of yellow and chocolate batter into the cake pans, then use a knife to create gentle swirls. The trick is not to overdo it – just a few swirls will create that classic marble pattern we’re looking for.
Baking to Perfection
These cakes bake at 350°F (177°C) for about 22-27 minutes. I highly recommend using an oven thermometer to ensure your oven is correctly calibrated. To test for doneness, insert a toothpick into the center – it should come out clean or with a few moist crumbs.
The Crowning Glory: Milk Chocolate Frosting
While the cake is absolutely delicious on its own, the milk chocolate frosting takes it to another level entirely. Silky smooth, rich yet not overpowering, it complements both the vanilla and chocolate components of the cake perfectly.
If chocolate isn’t your preference, a classic vanilla buttercream works beautifully as well. The versatility of this cake is part of what makes it so special!
Follow the Recipe Closely
I cannot stress enough how important it is to follow this recipe exactly as written, especially the first time you make it. Each ingredient serves a specific purpose, and the techniques have been carefully developed to ensure the best possible result. Once you’ve mastered the basic recipe, then you can consider small adaptations to suit your taste.

Comprehensive Ingredients List
For the Cake:
- 3 cups (354g) cake flour (spooned & leveled)
- 2 teaspoons baking powder
- 1/2 teaspoon baking soda
- 1 teaspoon salt
- 1 cup (230g) unsalted butter, softened to room temperature
- 2 cups (400g) granulated sugar
- 3 large eggs, at room temperature
- 2 teaspoons pure vanilla extract
- 1 cup (240ml) buttermilk, at room temperature
- 4 ounces (113g) high-quality semi-sweet chocolate, melted and slightly cooled
For the Milk Chocolate Frosting:
- 1 1/2 cups (345g) unsalted butter, softened to room temperature
- 3 3/4 cups (450g) confectioners’ sugar
- 3/4 cup (65g) natural unsweetened cocoa powder
- 1/4 teaspoon salt
- 1/4 cup (60ml) heavy cream or whole milk
- 1 teaspoon pure vanilla extract
Step-by-Step Instructions
- Preheat your oven to 350°F (177°C). Grease and lightly flour two 9-inch cake pans.
- Prepare the dry ingredients: In a large bowl, whisk together the cake flour, baking powder, baking soda, and salt. Set aside.
- Cream butter and sugar: Using a stand mixer fitted with a paddle attachment (or a hand mixer), beat the butter and sugar together on high speed until smooth and creamy, about 3 minutes.
- Add eggs and vanilla: Beat in the eggs one at a time, then add the vanilla extract. Beat on medium-high speed until combined.
- Combine wet and dry ingredients: With the mixer on low speed, add the dry ingredients in three additions alternating with the buttermilk, beginning and ending with the dry ingredients. Mix just until combined after each addition. Be careful not to overmix.
- Create the chocolate batter: Transfer about 1/3 of the batter (approximately 2 cups) to a separate bowl. Fold in the melted chocolate until completely combined.
- Create the marble effect: Alternately spoon vanilla and chocolate batters into the prepared cake pans. Using a knife, swirl the batters together with a figure-8 motion. Don’t swirl too much – just enough to get that marble effect.
- Bake the cakes: Bake for 22-27 minutes or until a toothpick inserted into the center comes out clean. Allow cakes to cool completely in the pans set on a wire rack.
- Make the frosting: Beat the butter on high speed until smooth and creamy (about 2 minutes). Add confectioners’ sugar, cocoa powder, and salt. Beat on low for 30 seconds, then increase to high speed and beat for 1 minute. Add cream and vanilla extract, then beat on high for 2 more minutes.
- Assemble and frost: Once cooled, place one cake layer on your serving plate. Spread a thick layer of frosting on top. Place the second cake layer on top and spread the remaining frosting all over the top and sides.
- Serve or store: The cake can be served immediately or stored covered at room temperature for up to 3 days.
Helpful Recipe Notes
Make Ahead & Freezing Instructions
You can bake the cake layers in advance, let them cool, and store them tightly covered at room temperature overnight. The frosting can also be made ahead, covered, and refrigerated. Before using, allow it to come to room temperature. Both frosted and unfrosted cakes can be frozen for up to 2–3 months. To serve, thaw overnight in the refrigerator and let it reach room temperature.
Special Tools
- 9-inch cake pans
- Electric mixer (stand or handheld)
- Oven thermometer (highly recommended)
- Cooling rack
Variations
For Cupcakes: Fill cupcake liners about 2/3 full and bake for 20-22 minutes at the same temperature. For a 9×13-inch Sheet Cake: Pour batter into a greased and lightly floured 9×13-inch pan and bake for 35-40 minutes.

Ingredient Notes
Cake Flour Substitute: If you don’t have cake flour, you can make a DIY version. For every 1 cup of cake flour needed, measure 1 cup of all-purpose flour, remove 2 tablespoons, then add 2 tablespoons of cornstarch. Sift together before using. Buttermilk Substitute: If you don’t have buttermilk, add 2 teaspoons of white vinegar or lemon juice to a liquid measuring cup. Then add enough whole milk to reach 1 cup. Stir and let sit for 5 minutes before using. Room Temperature Ingredients: This cannot be emphasized enough! Room temperature ingredients incorporate together much more easily, creating a uniform texture. Chocolate Quality: Use the best quality chocolate you can. It truly makes a difference in the flavor.
This marble cake has quickly become a favorite among family and friends, earning its place as my go-to celebration cake. The contrast between tender vanilla cake and rich chocolate swirls, all wrapped in that velvety milk chocolate frosting, creates a truly memorable dessert experience that will have everyone asking for the recipe!
Did you love it ? Let us know!
There are no reviews yet. Be the first one to write one.

