
Easy Apple Galette Recipe: A Simple Homemade Dessert
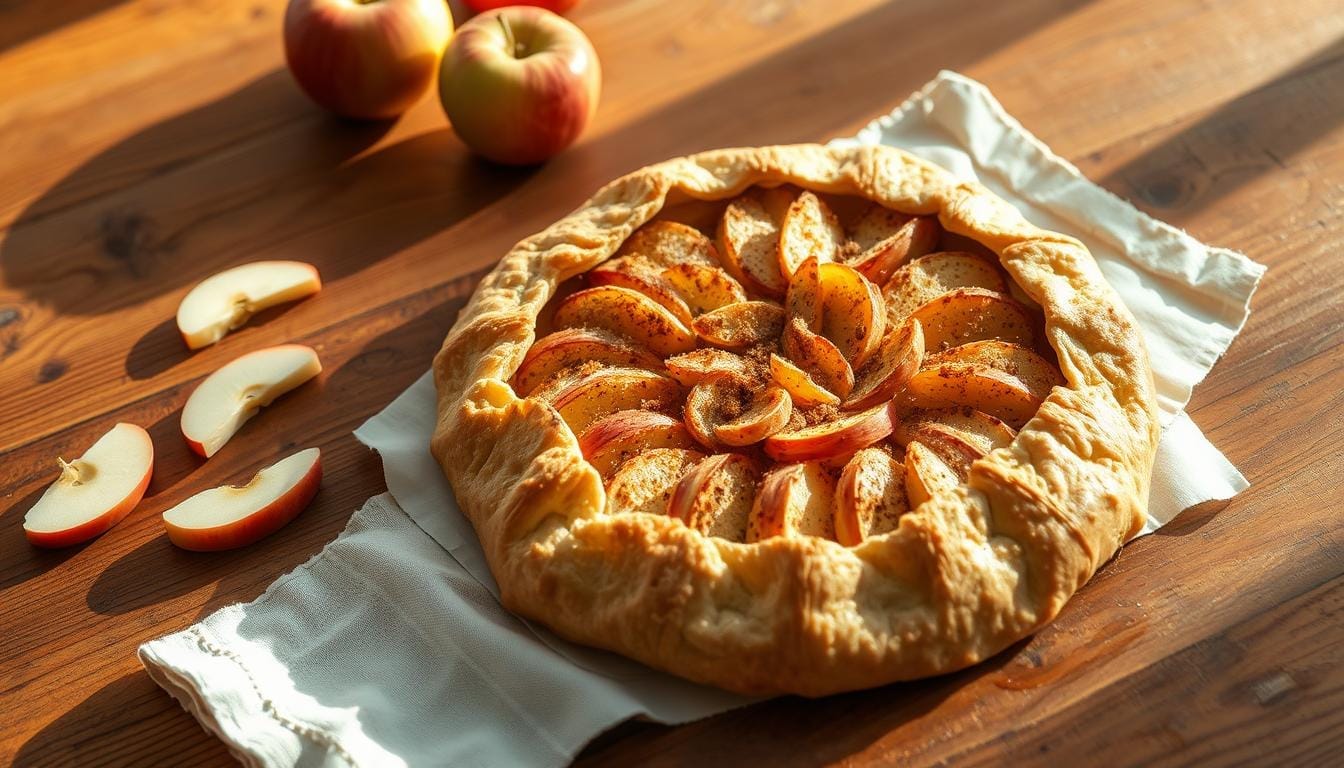
Imagine a warm kitchen filled with cinnamon and baked apples. A golden pastry wraps around tender fruit slices. An easy Apple Galette is more than a dessert—it’s a culinary adventure at home.
This homemade galette is simple and traditional. You don’t need to be a pro to make a dessert that looks like it’s from a French bakery. Our simple recipe turns basic ingredients into a stunning treat that will wow everyone.
Picture serving a dessert that looks a bit imperfect but tastes amazing. The beauty of an Apple Galette is its casual elegance. It has no fancy crimping or complicated techniques, just deliciousness in a flaky crust.
Whether you’re an experienced baker or new to the kitchen, this easy Apple Galette recipe is a delightful journey. Are you ready to start a simple yet spectacular culinary adventure?
Table of Contents
What is an Apple Galette: The Casual Cousin of Apple Pie
A rustic apple galette is a delightful and easy dessert to make. It’s different from the traditional apple pie, with a free-spirited charm. This French-inspired treat makes baking fun and simple.
Origins of Galette
The quick apple galette comes from the French countryside. Peasant bakers made it to use seasonal fruits easily. The name “galette” means “flat cake,” showing its simple nature.
Difference Between Galette and Pie
- Pie needs a double crust
- Galette has a single, free-form pastry
- Pie requires precise crimping and shaping
- Galette loves imperfect, rustic edges
Why Choose a Galette
Choosing a rustic apple galette means picking simplicity and elegance. Home bakers love its easy nature and quick prep. You don’t need to be a pro to make a beautiful dessert.
“A galette is like jazz music in the world of desserts – improvisational, relaxed, and always delightful.”
| Characteristic | Pie | Galette |
|---|---|---|
| Crust Style | Structured, enclosed | Open, rustic edges |
| Preparation Time | 45-60 minutes | 30-40 minutes |
| Skill Level Required | Advanced | Beginner Friendly |
Easy Apple Galette Recipe
Craving a delightful dessert that looks impressive but takes minimal effort? This quick apple galette recipe is your perfect solution. Whether you’re a baking novice or a seasoned home cook, this simple galette recipe will become your go-to dessert for any occasion.
Let’s break down the ingredients you’ll need for this mouthwatering treat:
- 1 refrigerated rolled pie crust
- 3-4 Granny Smith apples (about 1.5 pounds)
- 1/4 cup light brown sugar
- 1 tablespoon fresh lemon juice
- 1 tablespoon cornstarch
- 1 teaspoon ground cinnamon
- 1/8 teaspoon ground nutmeg
- 1/8 teaspoon salt
- 1 large egg (for egg wash)
- Coarse sugar for sprinkling
The beauty of this easy apple galette recipe lies in its simplicity. You’ll create a rustic, free-form pastry that looks like it came from a professional bakery but takes minimal skill to prepare.
“A galette is the relaxed, carefree cousin of the perfectly structured pie – no precise crimping required!” – Pastry Chef Emma Roberts
Quick Preparation Overview
| Preparation Stage | Time Required |
|---|---|
| Prep Time | 25 minutes |
| Cook Time | 50 minutes |
| Chill Time | 20 minutes |
| Total Time | 95 minutes |
| Servings | 6 slices |
The secret to a perfect quick apple galette is not overthinking it. Embrace the imperfect, rustic look! Your galette doesn’t need to be symmetrical – its charm is in its free-form, homemade appearance.
Recommended serving tip: Enjoy your simple galette recipe warm, preferably with a scoop of vanilla ice cream. The contrast between the warm, spiced apples and cold, creamy ice cream is pure dessert magic.
Essential Ingredients for Perfect Apple Galette
Making a delicious galette starts with the right ingredients. Your apple tart recipe needs the best parts to go from good to amazing.
Selecting the Best Baking Apples
Not all apples are the same for baking. For your homemade galette, pick firm, tart apples that keep their shape while cooking.
- Granny Smith: The gold standard for baking
- Honeycrisp: Crisp and sweet-tart flavor
- Braeburn: Holds shape excellently
- Pink Lady: Balanced sweet-tart profile
Pastry Foundations
The crust is key for your galette. You can make it yourself or buy it.
| Pastry Type | Pros | Preparation Time |
|---|---|---|
| Homemade | Full control, fresher taste | 15-30 minutes |
| Store-bought | Convenient, consistent | 0-5 minutes |
Spices and Seasonings
The right spices make your apple tart unforgettable.
- Cinnamon: Warm, classic apple flavor
- Nutmeg: Subtle, aromatic complement
- Brown sugar: Adds depth and caramel notes
“The secret to a perfect galette lies in the quality of its ingredients.” – Pastry Chef
Every ingredient is important for a tasty homemade galette. It will wow your family and friends.
Step-by-Step Preparation Guide
Making a beginner-friendly galette is simpler than you might think! This easy recipe guides you through each step. You’ll learn to make a delicious rustic dessert.
First, gather all your ingredients and tools. Here’s a quick list of what you’ll need:
- Pie crust (homemade or store-bought)
- Fresh apples
- Baking sheet
- Parchment paper
- Rolling pin
Now, let’s get into the preparation steps for your simple galette recipe:
- Take your pie crust out of the fridge and let it sit at room temperature for 15 minutes.
- Unroll the dough onto a large sheet of parchment paper.
- Use a rolling pin to make a circular shape, about 12 inches across.
- Move the crust to a rimmed baking sheet using the parchment paper.
- Put the baking sheet in the fridge to keep the dough cold.
“The beauty of a galette is in its imperfection. Don’t worry about creating a perfect circle!” – Pastry Chef’s Tip
For your apple filling, do the following:
- Slice 4-5 apples thinly (about 4 cups)
- Mix with brown sugar and cinnamon
- Sprinkle with a touch of lemon juice
Pro tip for your beginner-friendly galette: Leave a one-inch border around the edges when adding your apple filling. This prevents overflow and helps create that signature rustic look!
Tips for Creating the Perfect Rustic Fold
Making the perfect rustic apple galette is all about mastering the fold. The rustic fold makes your homemade galette look like a work of art. It might seem hard, but with a few tips, you’ll make a beautiful galette every time.
Achieving the Right Thickness
The thickness of your dough is key for a great rustic apple galette. Roll it out to about 1/8 inch thick. It should be thin but strong enough to hold the apples. Roll gently to avoid making the dough tough.
- Roll from the center outward
- Rotate dough periodically to ensure even thickness
- Use a ruler or measuring guide if needed
Edge Crimping Techniques
The edge fold is what makes your galette look rustic. Fold the pastry edges over the apples, making pleats. Remember, the beauty of a homemade galette is in its imperfections.
- Leave a 2-inch border around your apple filling
- Fold edges inward, slightly overlapping
- Press lightly to seal the folds
“The secret to a great galette is embracing its rustic nature – imperfections are what make it beautiful.”
Pro tip: Brush the folded edges with egg wash and sprinkle with turbinado sugar. This will give your dessert a golden, sparkling look that makes it stand out.
Baking Temperature and Timing Guidelines

To make the perfect quick apple galette, you need to get the baking right. The best temperature is 400°F (204°C). This makes the crust golden and flaky, and the apples just right.
Here are the key baking tips for your delicious galette:
- Preheat oven to exactly 400°F
- Position rack in the middle of the oven
- Begin checking galette after 28 minutes
- Total baking time: 30-40 minutes
Watch for these signs to know when your galette is done:
- Deep golden-brown crust color
- Bubbling fruit filling
- Edges slightly crisp and caramelized
“Patience is key when baking a perfect galette – resist opening the oven too frequently!”
Let your galette cool on the baking sheet for about 30 minutes after baking. This helps the filling set and keeps the bottom from getting soggy.
| Baking Parameter | Recommended Setting |
|---|---|
| Oven Temperature | 400°F (204°C) |
| Baking Time | 30-40 minutes |
| Initial Check Time | After 28 minutes |
| Cooling Time | 30-60 minutes |
Pro tip: Use parchment paper to easily transfer your cooled galette to a serving plate without breaking the delicate crust.
Creative Variations and Flavor Enhancements
Turn your simple galette recipe into a tasty dessert by trying new flavors and twists. This easy recipe is great because you can make it your own.
Exciting Fruit Combinations
Make your apple galette even better with these fruit pairings:
- Apple and Pear: A classic mix that’s sweet and tart
- Mixed Berry and Apple: Adds color and fruity taste
- Peach and Apple: Gives a summer twist
Sweet Toppings and Glazes
Try these tasty toppings to boost your galette:
| Glaze Type | Flavor Profile | Recommended Pairing |
|---|---|---|
| Caramel Drizzle | Rich and Sweet | Honeycrisp Apples |
| Vanilla Sauce | Creamy and Smooth | Granny Smith Apples |
| Apricot Glaze | Tangy and Bright | Golden Delicious Apples |
Unique Flavor Enhancements
Try these creative additions to make your galette special:
- Sprinkle of toasted nuts for crunch
- Fresh herbs like rosemary or thyme for a sophisticated touch
- A dash of cardamom or nutmeg to boost apple taste
“Cooking is an art, and a galette is your canvas – don’t be afraid to experiment!” – Pastry Chef Emma Roberts
The secret to a great galette is finding the right balance and enjoying the process. Every twist adds something new and exciting to this classic dessert.
Storage and Serving Suggestions
Your delicious galette dessert needs the right care to keep its charm and taste. After making this easy dessert, knowing how to store and serve your apple galette can make it even better.

Storing your galette right is key to keeping it fresh. Here are some important tips:
- Room Temperature: Store for up to 1 day in a tightly sealed container
- Refrigerator: Keeps well for up to 5 days
- Freezer: Individual slices can be frozen for up to 2 months
When serving, how you present it matters a lot. Here are some great ideas:
- Serve warm with a scoop of vanilla ice cream
- Drizzle with caramel sauce
- Sprinkle flaky sea salt for added depth
- Dust with confectioners’ sugar for an elegant touch
“The magic of a galette lies not just in its taste, but in how you present and preserve it.”
Reheating your galette is easy. Just warm it in a preheated oven at 350°F until it’s crisp and hot. Let it cool for 15-20 minutes before slicing to help the filling set.
| Storage Method | Duration | Best Practices |
|---|---|---|
| Room Temperature | Up to 1 day | Cover loosely with parchment paper |
| Refrigerator | Up to 5 days | Store in airtight container |
| Freezer | Up to 2 months | Wrap individually in plastic wrap |
Pro tip: For the best taste and texture, enjoy your apple galette on the day you bake it. Your guests will love the fresh, homemade taste!
Troubleshooting Common Issues
Making a beginner-friendly galette isn’t always easy. Many bakers face problems that can make their simple recipe hard. Let’s look at some common issues and how to fix them.
Preventing the Dreaded Soggy Bottom
The “Soggy Bottom Syndrome” can mess up your galette’s texture. To avoid this, try these tips:
- Par-bake your crust for 5-7 minutes before adding filling
- Use a preheated baking stone or sheet pan
- Sprinkle a thin layer of breadcrumbs or ground nuts on the crust to absorb excess moisture
Fixing Filling Problems
Undercooked or runny fillings can spoil your galette. Here are some expert tips:
| Issue | Solution |
|---|---|
| Crunchy Apples | Slice apples thinner (1/8 inch thick) and pre-cook slightly |
| Runny Filling | Add 1 tablespoon of cornstarch to absorb excess liquid |
| Lack of Flavor | Sprinkle cinnamon and a touch of brown sugar |
Pro tip: Serve your apple galette soon after baking. This keeps the pastry crisp. The longer it sits, the soggier it gets.
“Baking is about precision, but don’t be afraid to experiment and learn from your mistakes!” – Professional Baker
Remember, practice makes perfect in baking. Every try brings you closer to a delicious, rustic dessert. It will impress your friends and family.
Conclusion
This easy apple galette recipe shows you how to make a tasty dessert that’s simple to make. It turns traditional baking into a fun, elegant process. The rustic apple galette is more than a dessert; it’s a journey that brings fancy flavors to your kitchen with little effort.
Now, you can make a beautiful pastry that looks like it came from a bakery but is easier to make. You’ve learned how to pick the right apples, prepare the dough, and bake it perfectly. This means you can make a dessert that will wow your family and friends.
Baking is all about being creative and having fun. Feel free to try different apples, spices, or fruits. Each galette you make will be special, showing off your taste and growing skills. So, get ready to make your dough, enjoy the rustic look, and enjoy the yummy results of your baking.
Whether you’re an experienced baker or just starting out, this recipe shows that you can make amazing desserts. Your homemade galette is ready—start baking!
FAQ
What is the difference between a galette and a traditional pie?
Can I use store-bought pie crust for my apple galette?
What are the best apples to use for an apple galette?
How long can I store an apple galette?
Can I make a gluten-free version of this apple galette?
What can I serve with my apple galette?
How do I prevent my galette from becoming soggy?
Source Links
- Apple Galette – https://www.allrecipes.com/recipe/235293/apple-galette/
- Easy Apple Galette – https://southernbite.com/easy-apple-galette/
- Easy Apple Galette Recipe – https://mosthungry.com/easy-apple-galette/
- Rustic Apple Galette – Easy Fall Tart! – That Skinny Chick Can Bake – https://www.thatskinnychickcanbake.com/apple-galette/
- Easy Apple Galette Recipe (+VIDEO) – https://www.the-girl-who-ate-everything.com/apple-galette/
- Easy Apple Crostata – Elle & Pear – https://www.elleandpear.com/apple-galette-do-i-need-to-precook-the-apples/
- Easy Apple Galette Recipe – https://cherrymenlove.com/easy-apple-galette-recipe/
- Easy Apple Galette – Harvest & Nourish – https://harvestandnourish.com/recipes/easy-apple-galette/
- Easy Apple Galette Recipe – Cook Fast, Eat Well – https://cookfasteatwell.com/apple-galette-recipe/
- The Easiest, Yummiest Apple Galette You’ll Ever Make! – https://www.azurefarmlife.com/farm-blog/-apple-galette-recipe
- 🥂Best Easy Apple Pie Filling Galette – Love French Food – https://www.lovefrenchfood.com/best-easy-apple-pie-filling-galette/
- Apple Galette – https://thesuburbansoapbox.com/apple-galette/
- Easy Rustic Apple Galette – https://pudgefactor.com/easy-rustic-apple-galette/
- Easy Apple Galette Recipe – https://www.thekitchenmagpie.com/easy-apple-galette-recipe/
- Apple Galette Recipe • baste cut fold – https://bastecutfold.com/apple-galette-recipe/
- Mom’s Quick and Easy Apple Galette – The Seasoned Mom – https://www.theseasonedmom.com/easy-apple-galette/
- Easy Apple Galette – Preppy Kitchen – https://preppykitchen.com/apple-galette/
- Quick & Easy Apple Galette in the Air Fryer – Ready in 25 Minutes! – https://airfryerrecipechef.com/apple-galette-in-the-air-fryer/
- 10 Tasty Ways to Upgrade a Basic Apple Pie Recipe, According to Professional Chefs – https://www.realsimple.com/apple-pie-upgrades-7973689
- Our Blog-Real Baking with ROse — Real Baking with Rose – https://rose-beranbaum.squarespace.com/blog?category=Book:Pie and Pastry Bible
- Easy Apple Galette – Curly Girl Kitchen – https://curlygirlkitchen.com/easy-spiced-apple-galette/
- Apple Galette Is Fall’s Dessert MVP – https://www.southernliving.com/apple-galette-8699664?srsltid=AfmBOorhyi7_GaambatV95yJNMC1f6Tjpv2wQWJDO_fmPp9ZScK3gXH5
- You Messed Up Your Pie Crust: Don’t Fret, Just Fix It – https://food52.com/blog/14789-kitchen-rescue-how-to-fix-10-common-pie-problems?srsltid=AfmBOorKIeZgrgvdVAuOqBmiCZv8d2HKoFWikyL-d1XnmV3c6OZsmbB-
- how to make homemade 3-ingredient pie crust – https://bluebowlrecipes.com/perfect-pie-crust-tips/
- Mini Apple Pies – https://pastryliving.com/mini-apple-pies/
- The Ultimate Best Apple Pie Recipe – https://www.muffinmiracle.com/my-best-apple-pie-recipes/